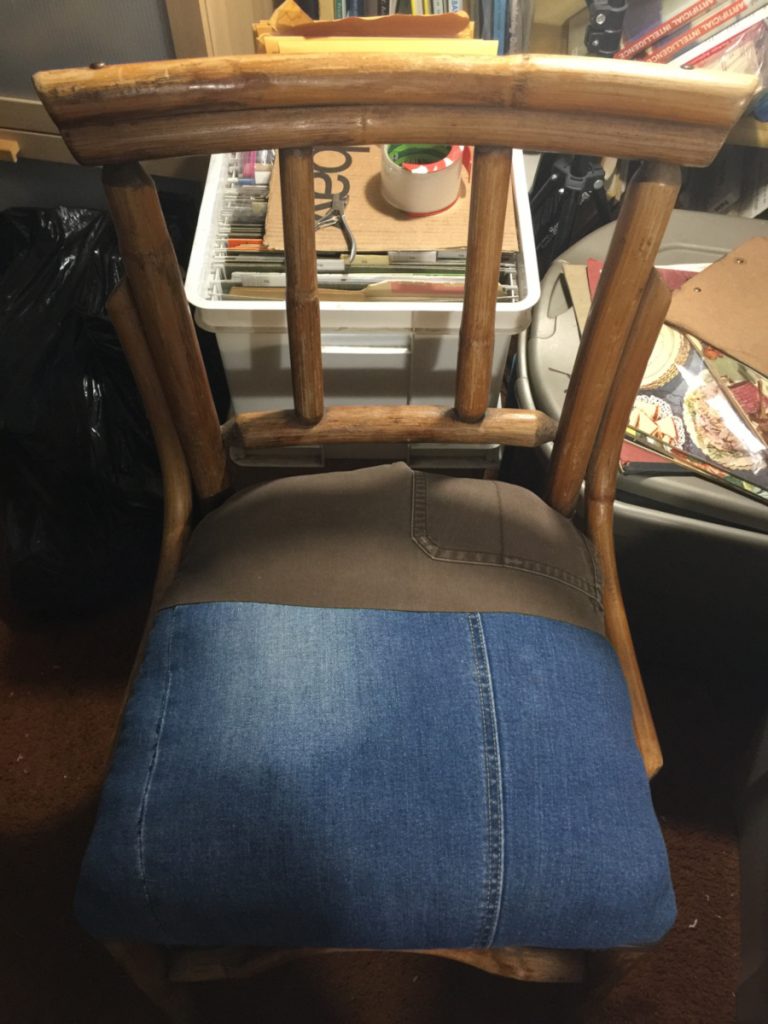
This cool rattan chair had a torn up seat, so I fixed it for almost nothing, except I had to buy some tools. Here’s what you need:
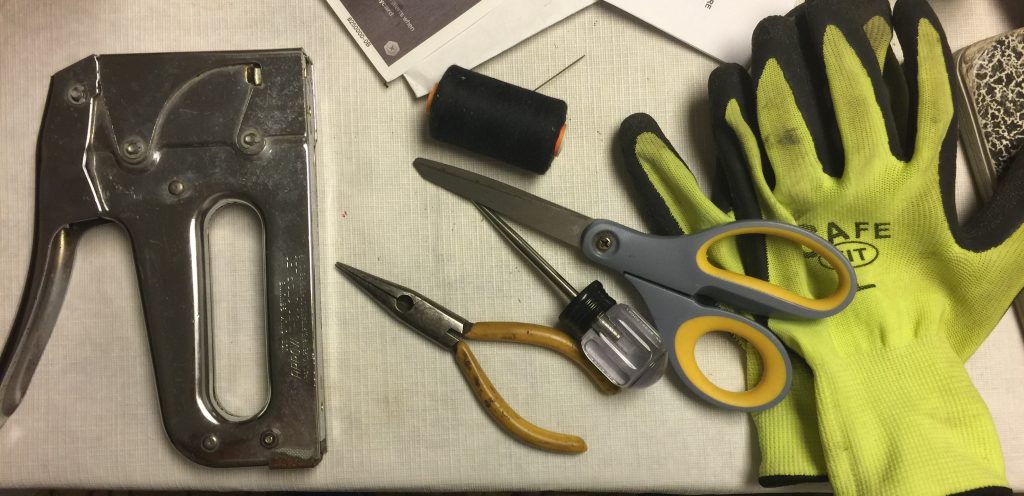
On the left is a stapler. I got one on Ebay for around $12 shipped, but it was too big. STaples cost around $6, but I didn’t use too many. There’s a different stapler called the JT27 that’s lighter weight and uses thinner staples. It’s around the same price, new.
The next are the needle nose pliers, to pull staples. That’s the yellow handle thing.
Touching that is a metal scratch awl. It cost around $5, and it’s used to pry up the staples.
The scissors cut fabric, and needle and thread sew it together. That’s maybe $7 dollars if you get OK scissors.
The gloves are necessary for working on the seat, to avoid splinters and possible cuts. These were from the 99 cents store.
How to Get Free “Upholstery” Fabric
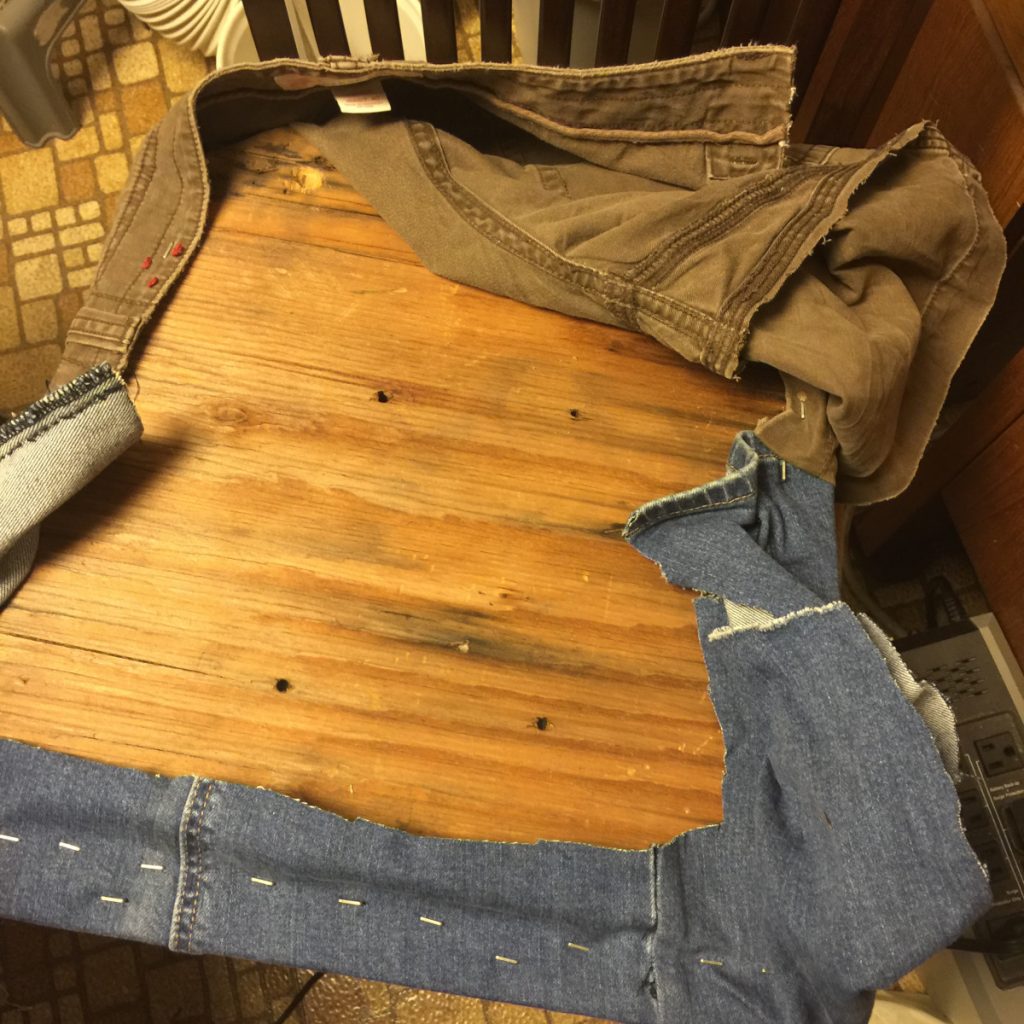
I took two of my old pants and sewed them together. The blue were legs from some cutoff jeans. The brown were a pair of shorts that got a tear in it.
You just try your best to cut them apart at the seams, and then patch them into a bigger piece of fabric.

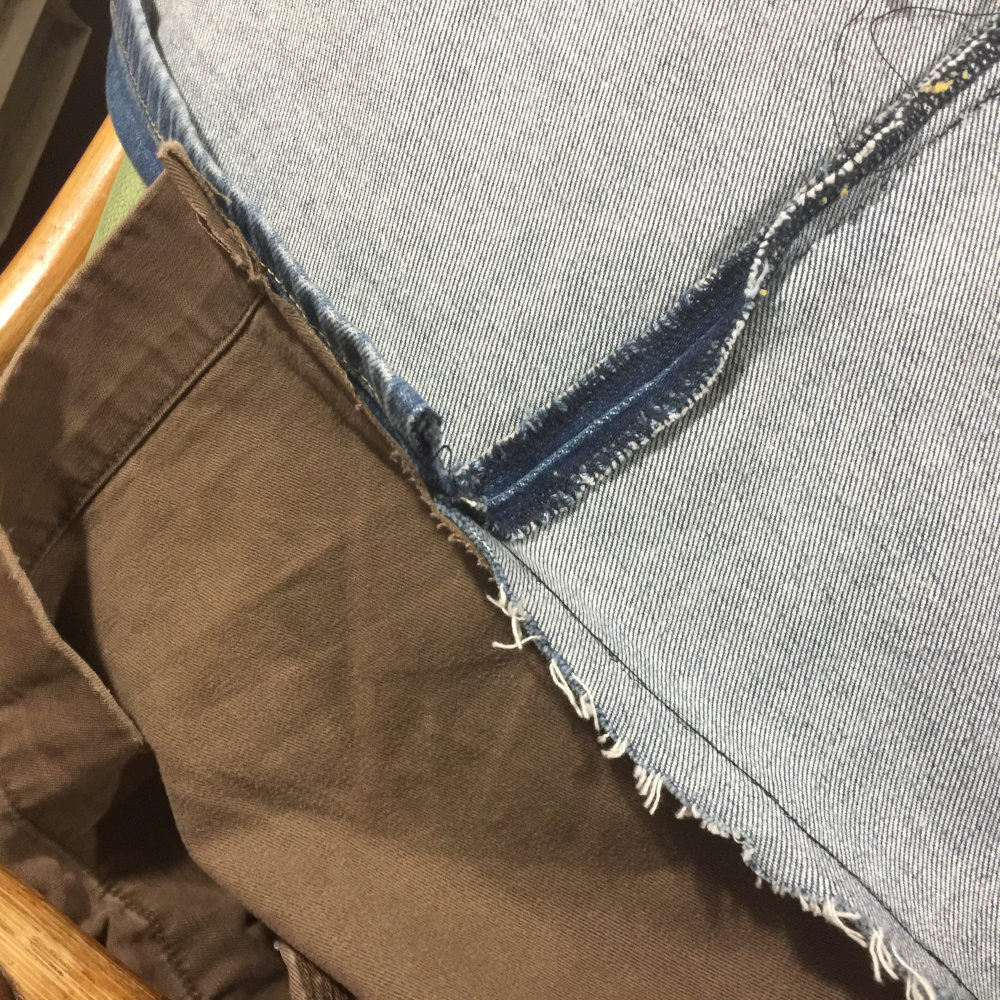
To sew them, use a backstich. It’s pretty strong.
I got these pants pretty cheap, and used them up, so this is like “free” fabric.
How to Get Free Fill Material
Most people nowadays use foam, but that stuff is pretty expensive. You can get some free fill material by keeping an eye on the street. People throw out cheap recliners and small sofas all the time.
Not only that, but often, they are so ugly they aren’t going to ever be picked up.
You can cut these open to remove the stuffing. If it’s still good, you can use it!
Strip the Old Seat
Using the awl, pick under the old staple, to bring it up. Then, using the needlenose pliers, pull out the staple or wire.
Always point the awl tip away from you, and push down and away. You may need to twist the point a little. Don’t hold your hand in front of the point! Also, hold the seat with gloves, so you don’t get splinters.
Stuffing It
Stuffing this kind of chair is a little challenging. You need to put around 1 inch of slack on each edge, so you can install the stuffing.
Before you stuff, staple the fabric on one edge, and then staple the opposite edge. Don’t install it tight – leave an inch of slack on each side.
Then do the same for the front edge of the seat.
You don’t staple the rear edge until after you’ve filled it.
After the sides are determined, carefully staple down the front edge. Go all the way across from the center, out.
Next, do each side, making sure the fabric aligns correctly with the edge.
Don’t worry about the corners at this time.
Instead, cut away the excess fabric (except along the back of the seat).
Then, start stuffing the seat. Push the fill into the corners, even though they’ll “leak out” a little. The corners are the hardest thing to fill.
Once the stuffing is halfway in, and pressed down into the front of the chair, staple the corners. You install some pleats, fold even and flat, and staple it down.
Continue filling all the way to the top, pushing the fill down all the way through. You want the stuffing to be full and tight.
Then, you staple the rear part closed. Cut away excess fabric, and that’s it.
This is a photo of an unfinished seat that’s not stuffed quite right.
To correct the bulging, I pulled the fabric tighter. Having it stuffed tight made that adjustment a little easier.
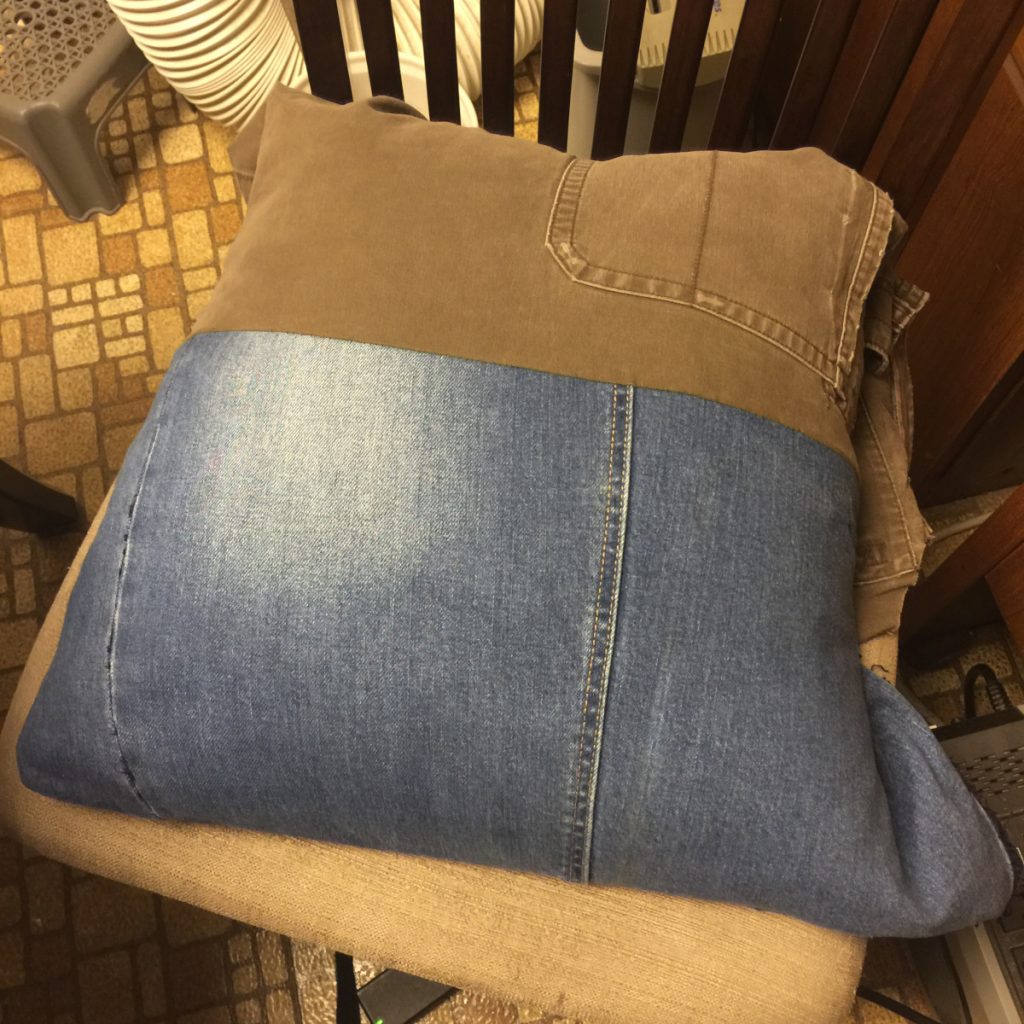
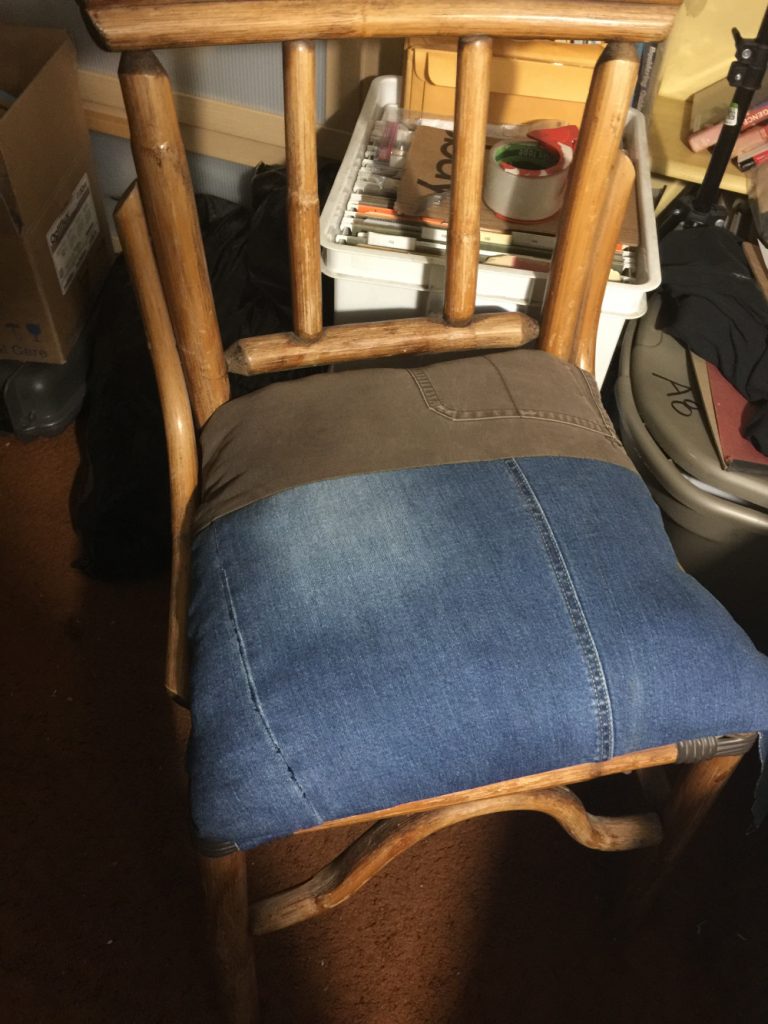
Here’s the finished seat.